Create Cluster
This topic describes how to create a cluster.
Prerequisites
Ensure:
-
A BYOC project. Refer to Deploy BYOC on AWS for instructions.
-
Ownership of the organization or project where the cluster is to be established. For details on roles and permissions, see Access Control.
Create a cluster
- Cloud Console
- cURL
-
Log in to the Zilliz Cloud console.
-
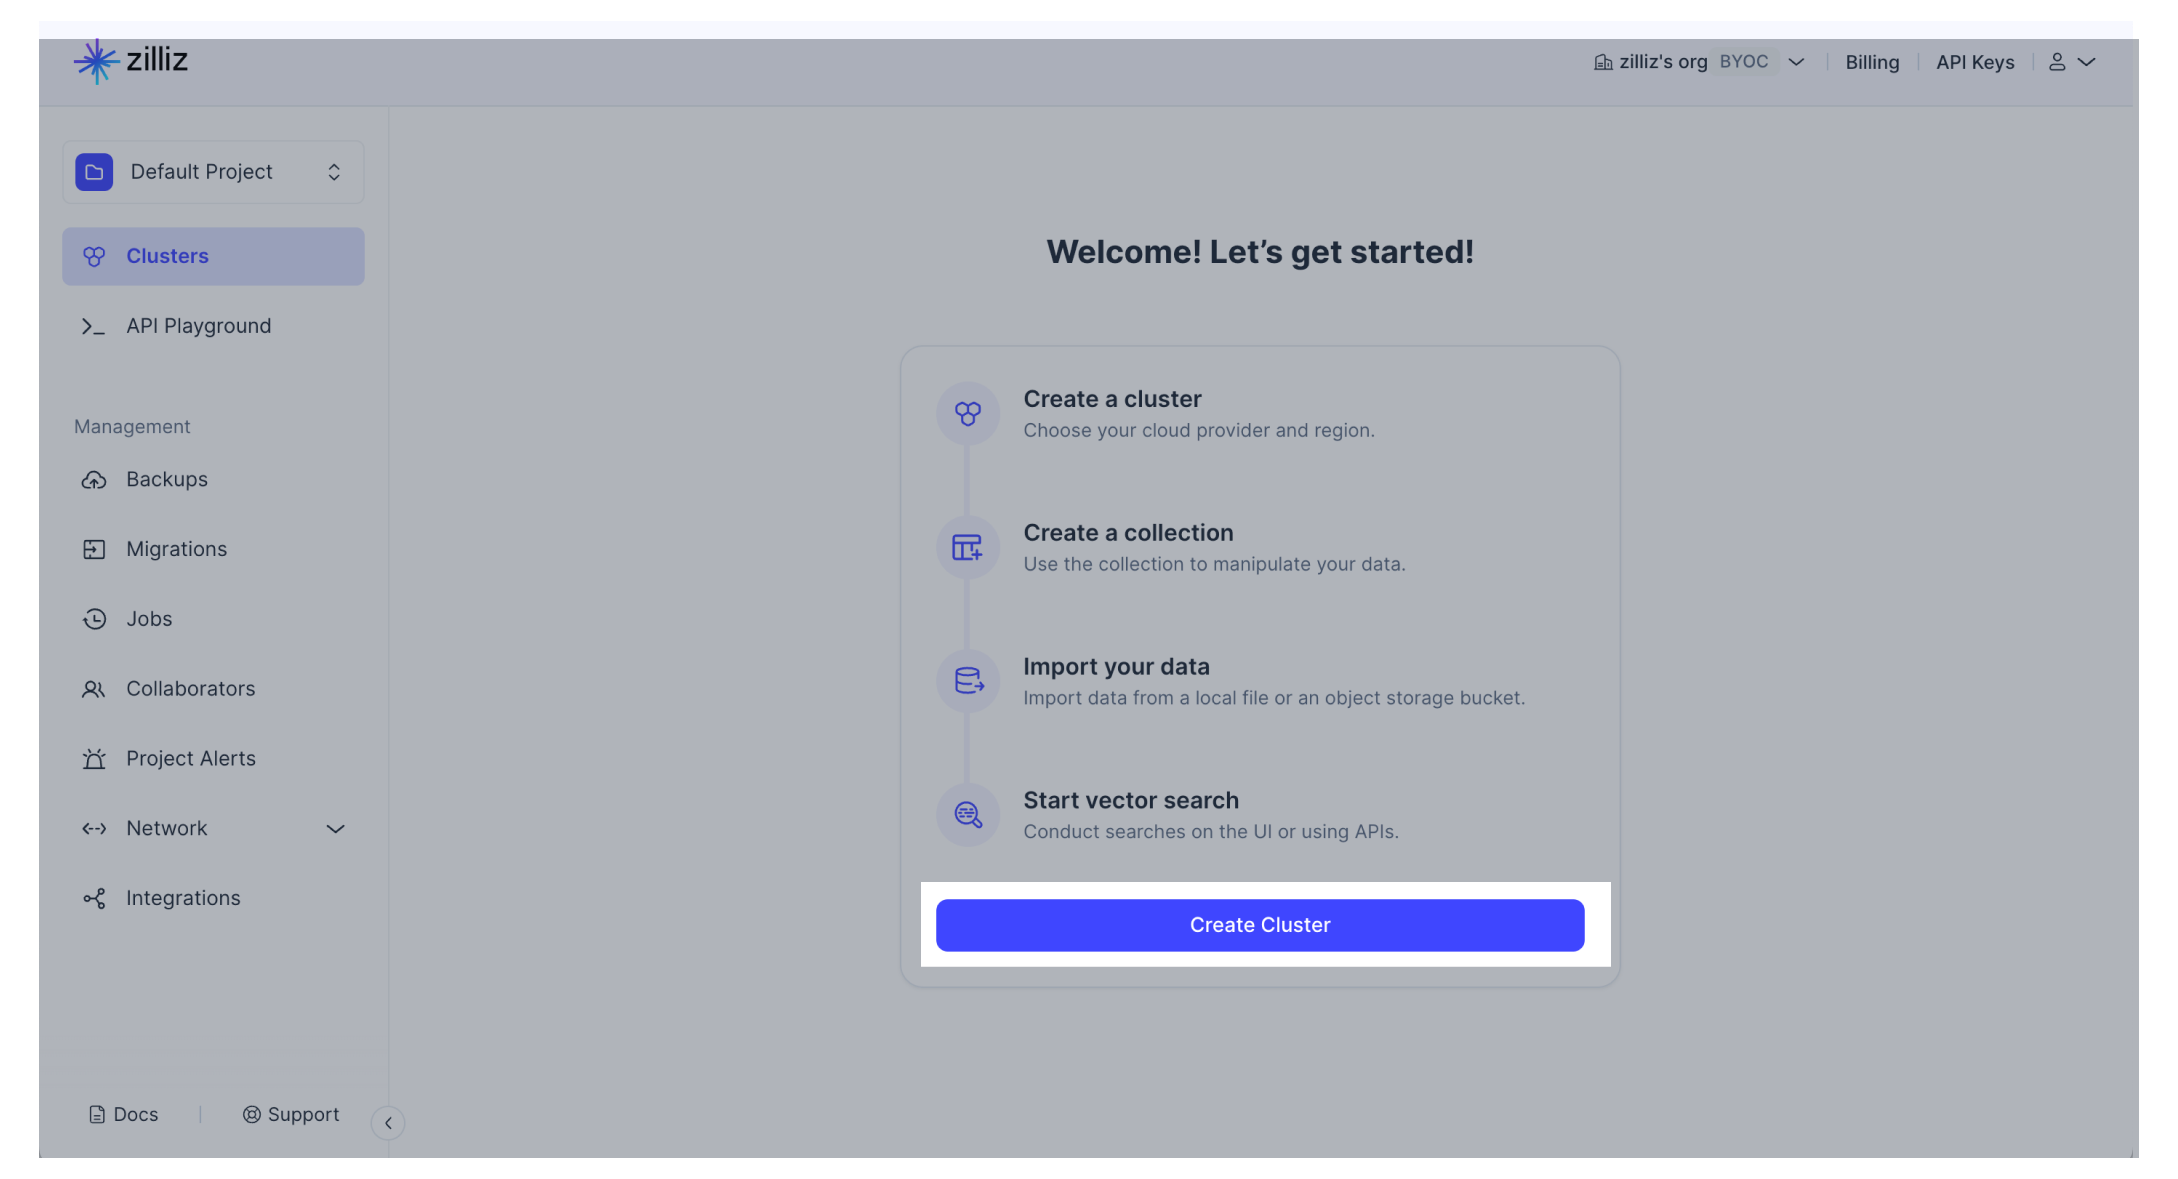
Enter the desired organization and project.
-
Click Create Cluster.

-
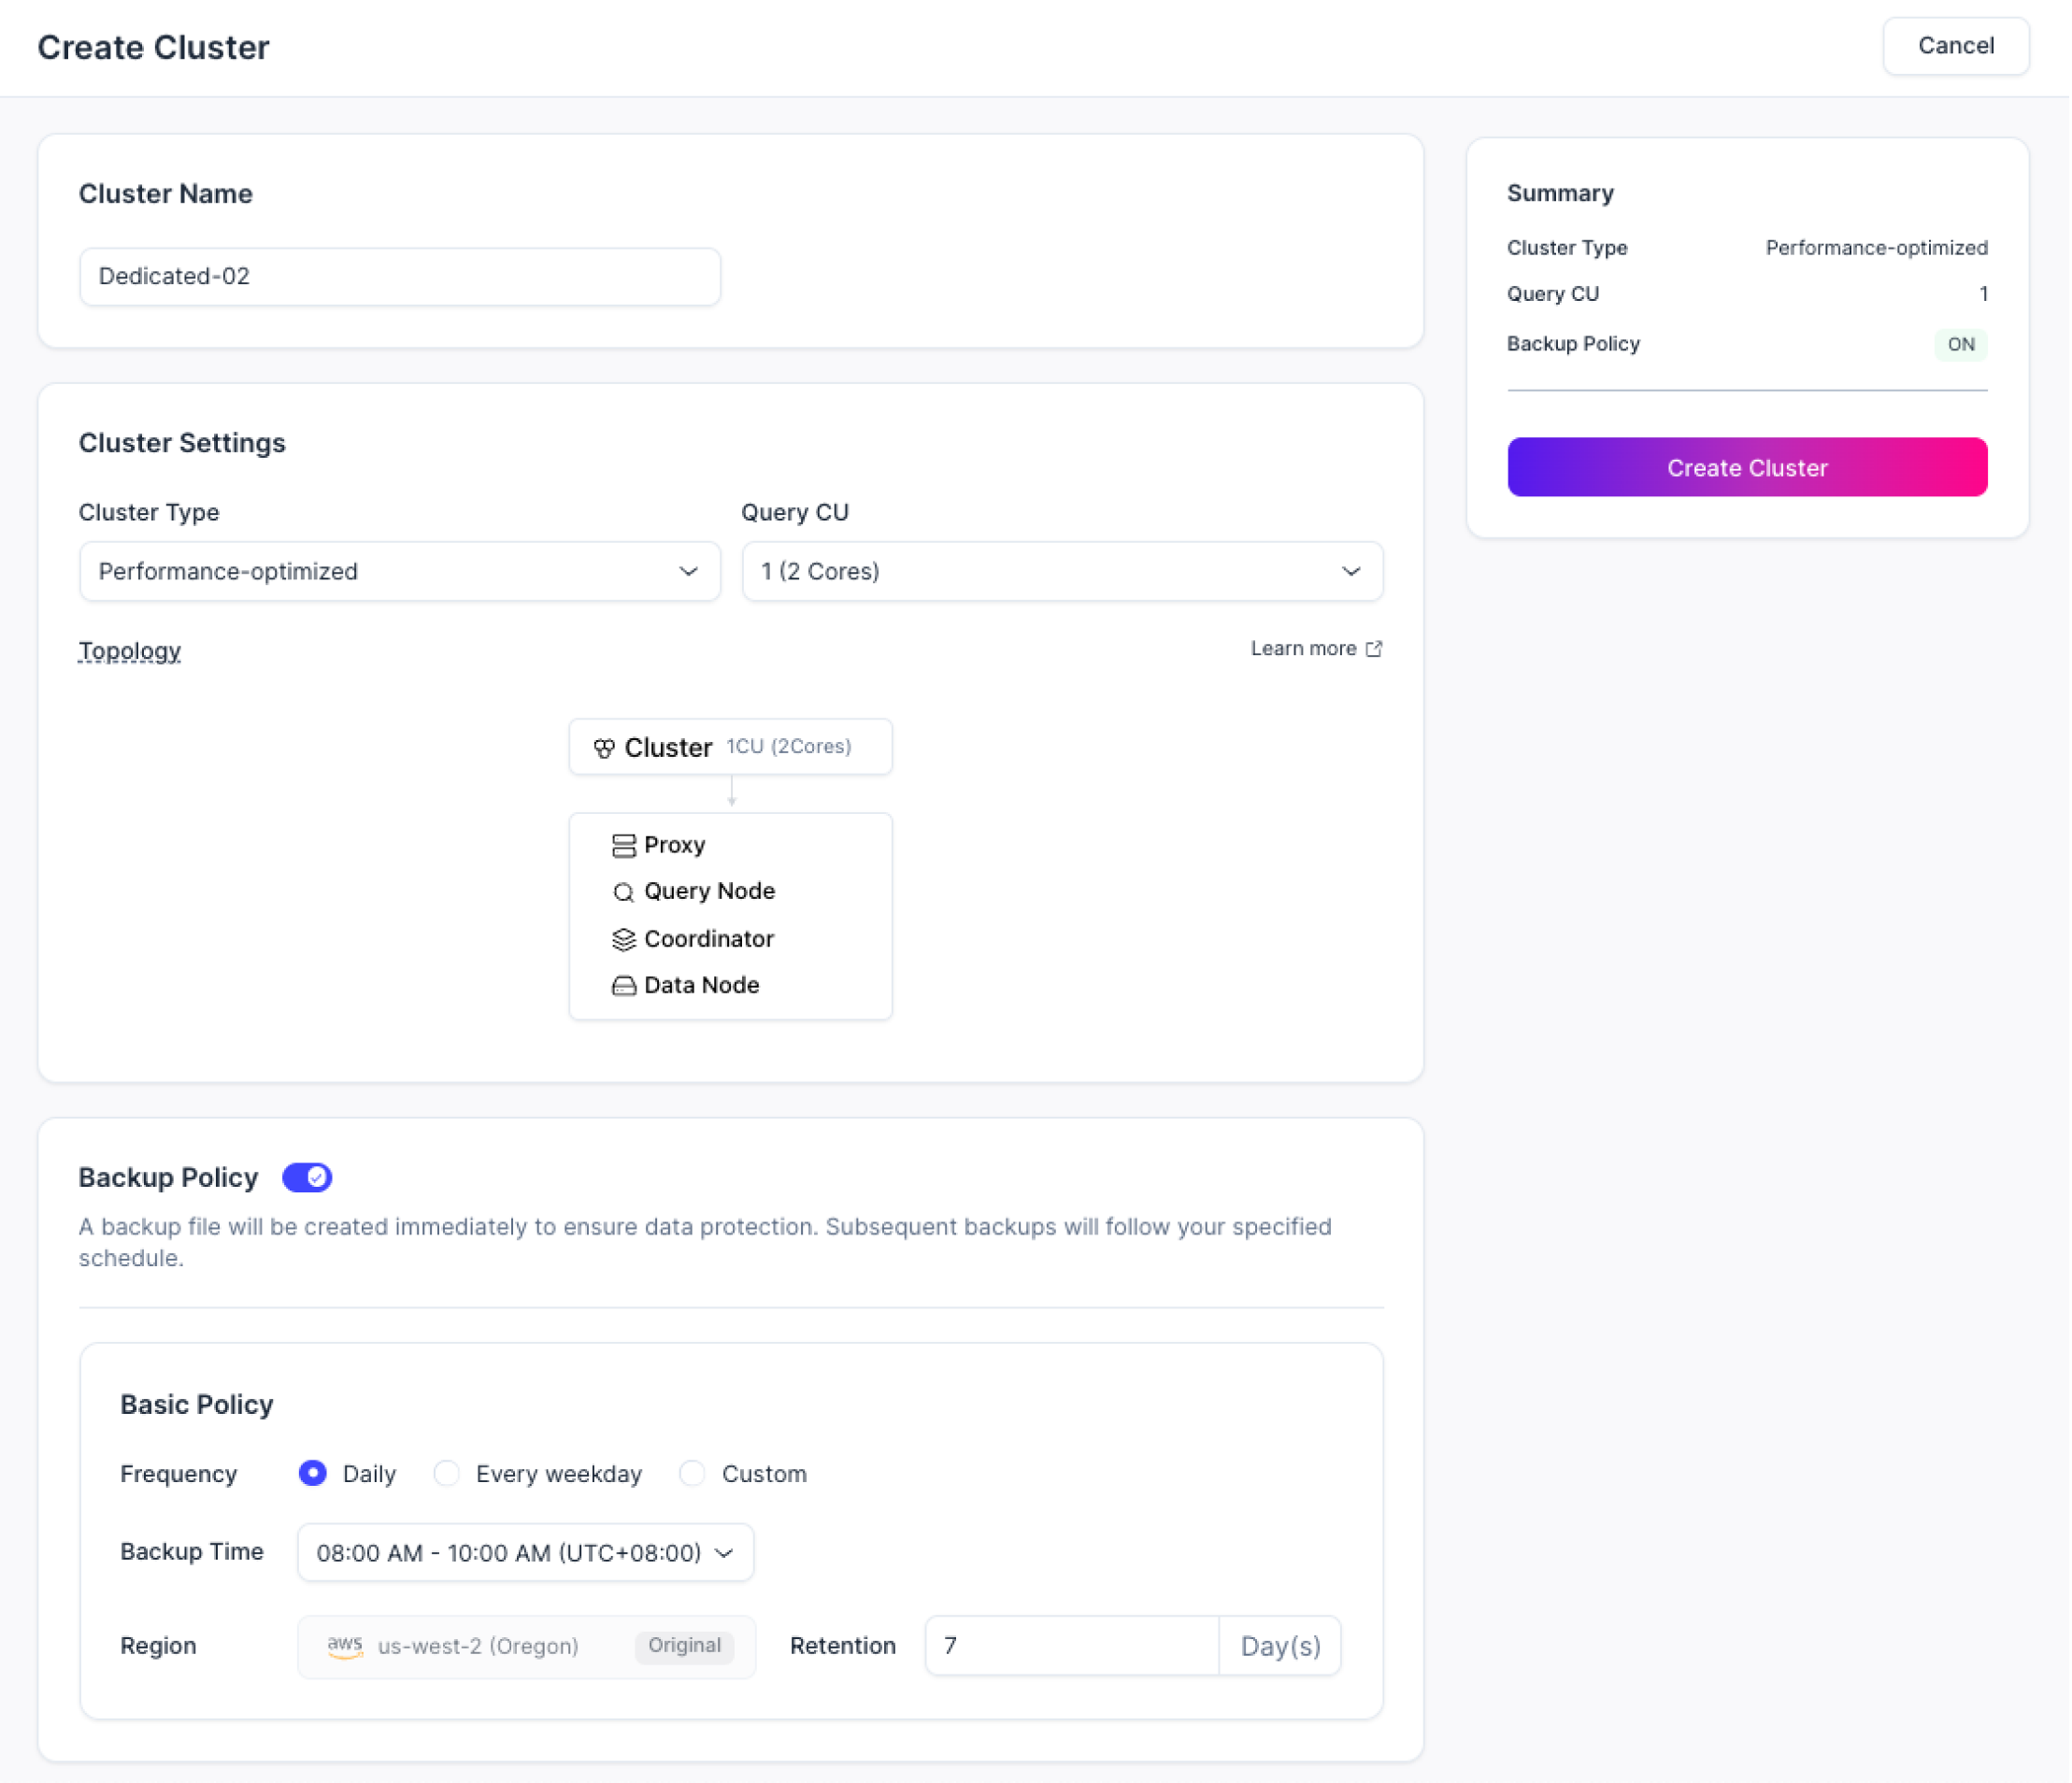
On the Create New Cluster page, fill out the relevant parameters.

-
Cluster Name: Assign a unique identifier for your cluster.
-
Cluster Settings:
-
Cluster Type: Select a cluster type that aligns with your cluster's performance requirements. For more information, refer to Select the Right CU.
-
Query CU: Select the number of query CUs of the cluster.
-
Topology: A graphical representation showing the structure of your cluster. This includes the designation of roles and compute resources for various nodes:
-
Proxy: Stateless nodes that manage user connections and streamline service addresses with load balancers.
-
Query Node: Responsible for hybrid vector and scalar searches and incremental data updates.
-
Coordinator: The orchestration center, distributing tasks across worker nodes.
-
Data Node: Handles data mutations and log-to-snapshot conversions for persistence.
-
-
-
(Optional) Backup Policy: Decide the backup frequency for the cluster to create. Zilliz Cloud will create a backup immediately after the cluster is created. Subsequent backups will follow the specified schedule.
-
-
Click Create Cluster.
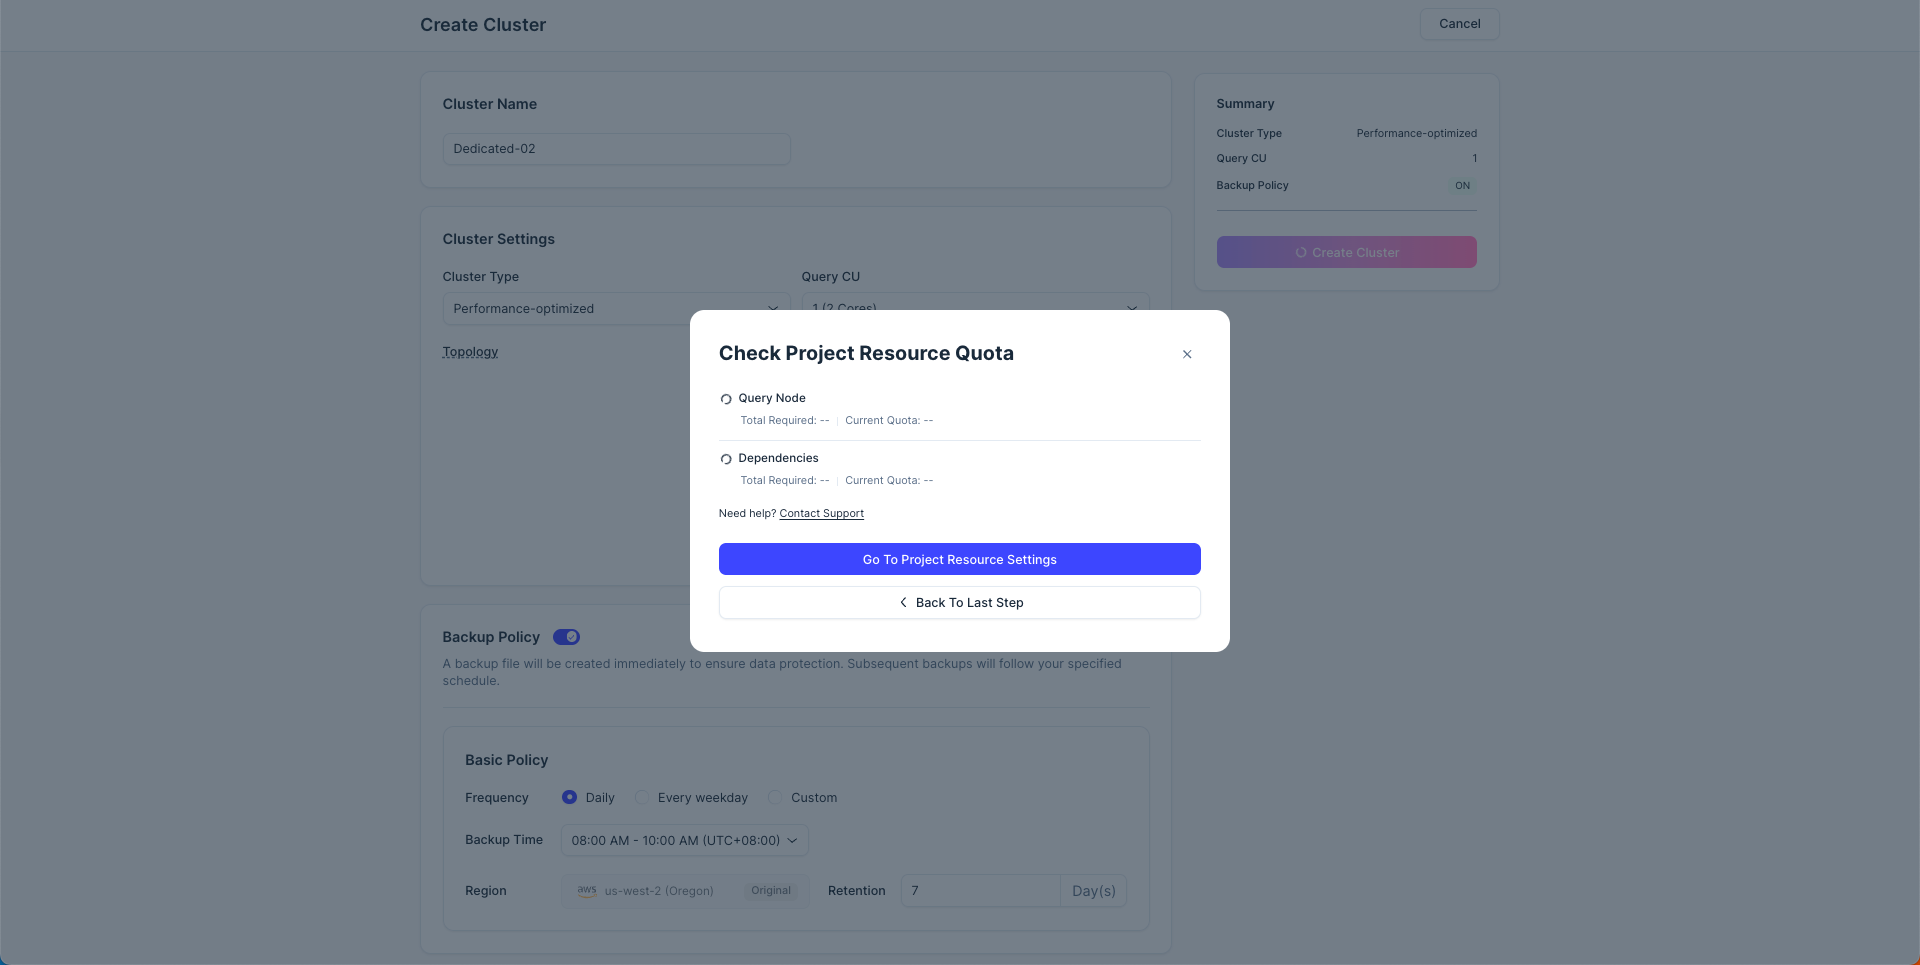
You will be prompted to check the resource quota for your project. If the resources are sufficient, the dialog box will disappear after the check is complete. Otherwise, you can
-
Click Go To Project Resource Settings to edit resource settings for the project, or
-
Click Back to Last Step to change your cluster settings.
 📘Notes
Some additional resources will be required for rolling; these resources will be released after use.
Then, you'll be redirected to a dialog showcasing the public endpoint and token for your cluster access. Keep these details safe.
-
Your request should resemble the following example, where {API_KEY} is your API key used for authentication.
The following POST request takes a request body and creates a Performance-optimized cluster named cluster-02 with one query CU.
curl --request POST \
     --url "https://api.cloud.zilliz.com/v2/clusters/createDedicated" \
     --header "Authorization: Bearer ${API_KEY}" \
     --header "Accept: application/json" \
     --header "Content-Type: application/json" \
     --data-raw '{
        "clusterName": "Cluster-02",
        "projectId": "proj-xxxxxxxxxxxxxxxxxxxxxx",
        "regionId": "aws-us-west-2",
        "plan": "Standard",
        "cuType": "Performance-optimized",
        "cuSize": 1
    }'

# {
#     "code": 0,
#     "data": {
#         "clusterId": "inxx-xxxxxxxxxxxxxxx",
#         "username": "db_admin",
#         "password": "****************",
#         "prompt": "successfully submitted, cluster is being created. You can access data about the creation progress and status of your cluster by DescribeCluster API. Once the cluster status is RUNNING, you may access your vector database using the SDK with the admin account and the initial password you specified."
#     }
# }
In the command above,
-
{API_KEY}: The credential used to authenticate API requests. Replace the value with your own. -
clusterName: The name of the cluster to create. -
projectId: The ID of the project in which you want to create a cluster. To list project IDs, call the List Projects operation. -
regionId: The ID of the cloud region where you want to create a cluster. To obtain available cloud region IDs, call the List Cloud Regions operation. -
cuType: The type of the cluster. Valid values: Performance-optimized, Capacity-optimized. -
cuSize: The number of query CUs used for the cluster. Value range: 1 to 256.
For further details, see Create Dedicated Cluster.