Migrate from Milvus to Zilliz Cloud Via Endpoint
Zilliz Cloud offers Milvus as a fully managed, cloud-hosted solution for users who want to use the Milvus vector database without the need to manage the infrastructure themselves. This topic describes how to migrate from Milvus via the database endpoint.
Prerequisites
Before starting your Milvus to Zilliz Cloud migration, ensure you meet these requirements:
Milvus requirements
Requirement | Details |
|---|---|
Version compatibility | Milvus 2.3.6 or later |
Network access | Source Milvus instance must be accessible from the public internet |
Authentication credentials | Username and password if authentication is enabled (refer to Authenticate User Access) |
Zilliz Cloud requirements
Requirement | Details |
|---|---|
User role | Organization Owner or Project Admin |
Cluster capacity | Sufficient storage and compute resources (use the CU calculator to estimate CU size) |
Network access | Add Zilliz Cloud IPs to allowlists if using network restrictions |
Getting started
The following demo walks you through how to start migrating from Milvus via endpoint:
If full text search is already enabled for the source collection, Zilliz Cloud will preserve its Function settings in the target collection after migration. These inherited settings cannot be modified.
You can also enable full text search for other VARCHAR fields during migration. For details, refer to Full Text Search.
Monitor the migration process
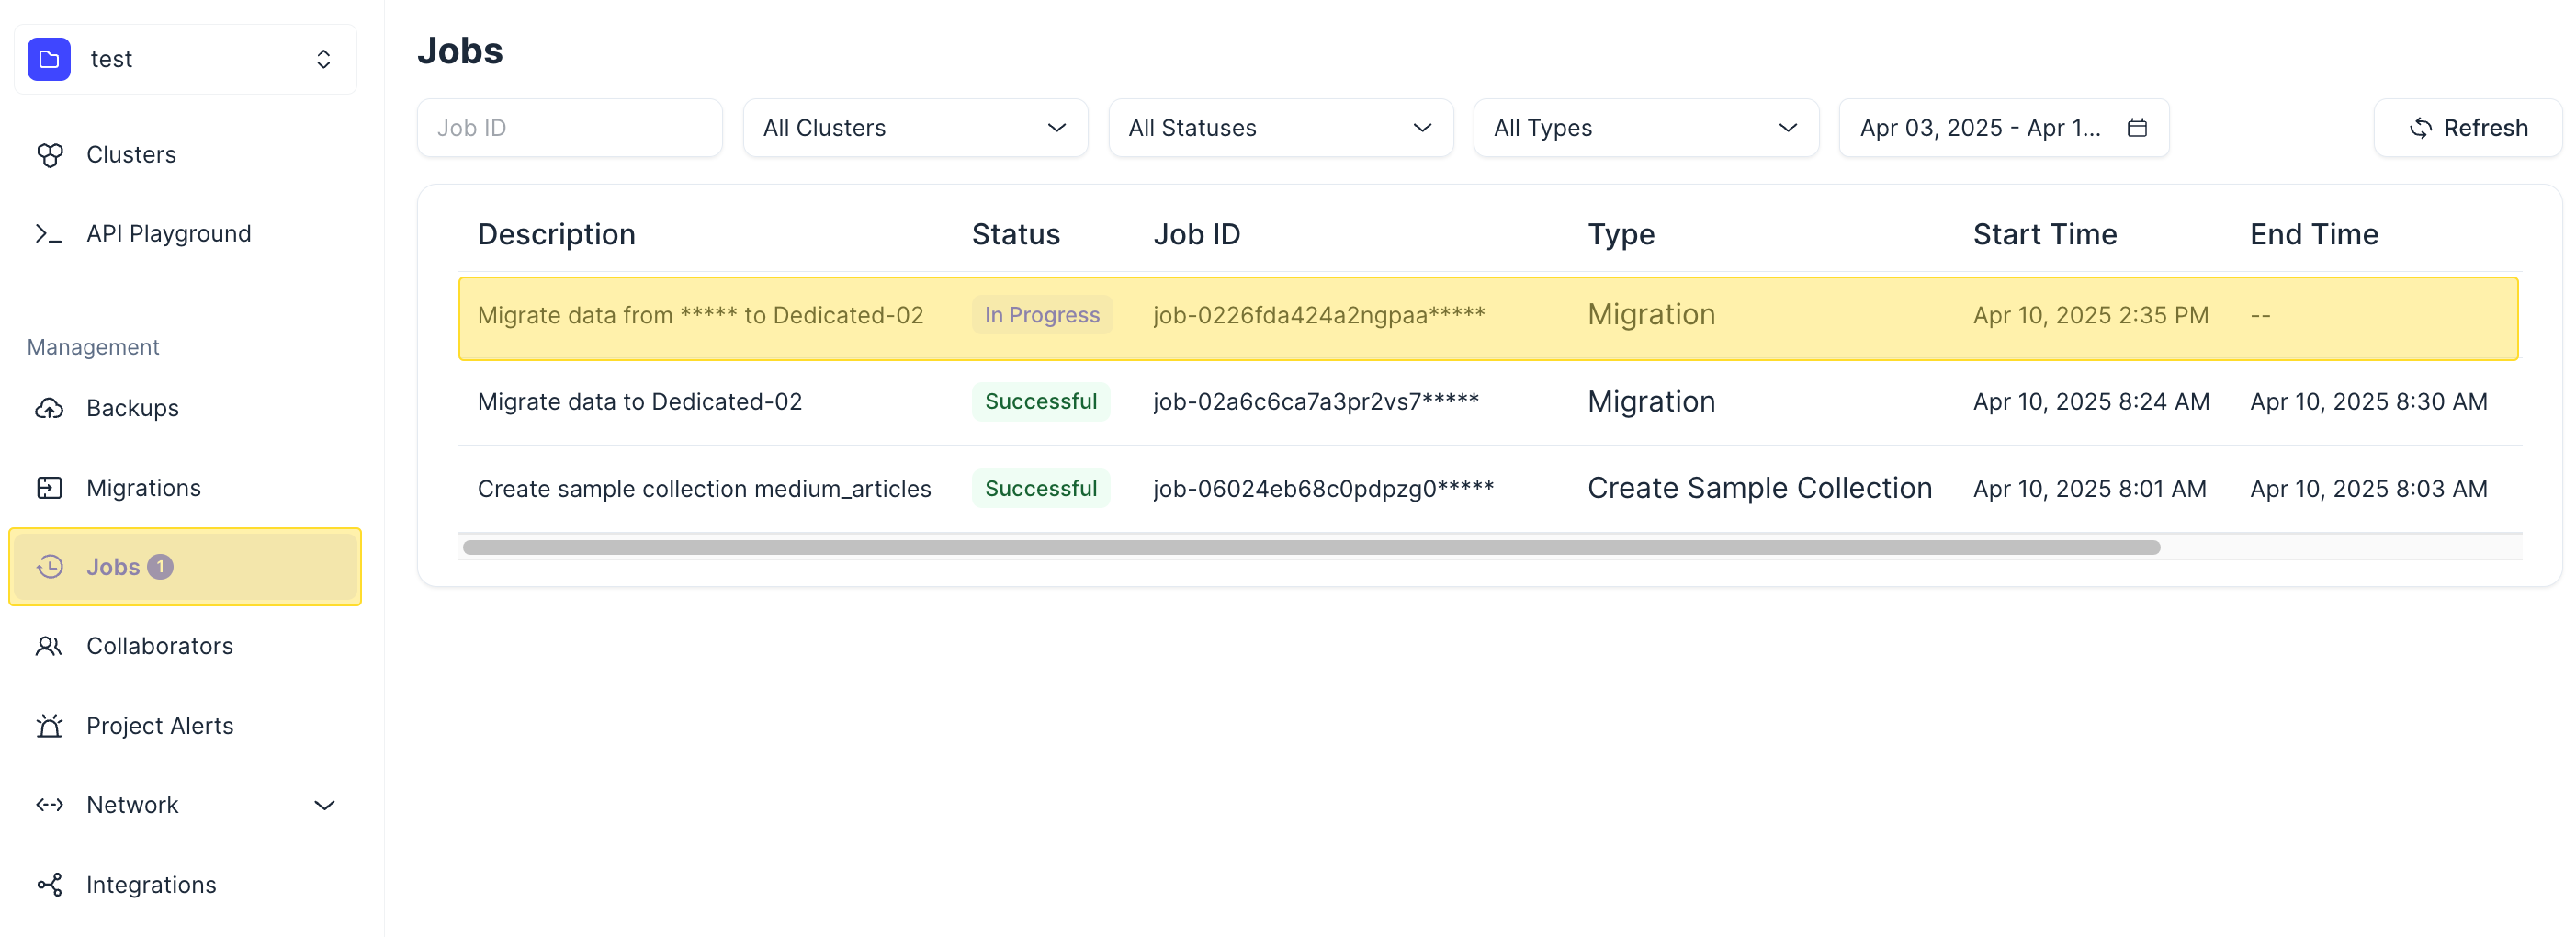
Once you click Migrate, a migration job will be generated. You can check the migration progress on the Jobs page. When the job status switches from In Progress to Successful, the migration is complete.

Post-migration
After the migration job is completed, note the following:
-
Index Creation: The migration process automatically creates AUTOINDEX for the migrated collections.
-
Manual Loading Required: Despite automatic indexing, the migrated collections are not immediately available for search or query operations. You must manually load the collections in Zilliz Cloud to enable search and query functionalities. For details, refer to Load & Release.
Once your collection is loaded, verify that the number of collections and entities in the target cluster matches the data source. If discrepancies are found, delete the collections with missing entities and re-migrate them.
Cancel migration job
If the migration process encounters any issues, you can take the following steps to troubleshoot and resume the migration: