Migrate from Milvus to Zilliz Cloud Via Backup Tool
Zilliz Cloud provides a backup tool for data migration from Milvus. This backup tool allows users to perform data migration more easily and efficiently, without needing to handle complex details manually, thus greatly enhancing usability and success rates.
This feature eliminates the operational complexity across various migration scenarios, such as:
-
File size limitations when migrating with local backup files.
-
Understanding cloud storage bucket configurations from different cloud providers when using bucket-based migration.
-
Ensuring network accessibility of the Milvus instance endpoint when performing endpoint-based migrations.
Before you start
-
You have been granted the Organization Owner or Project Admin role. If you do not have the necessary permissions, contact your Zilliz Cloud Organization Owner.
-
Make sure the number of query CUs of the target cluster can accommodate your source data. To estimate the required number of query CUs, use the calculator.
Procedure
In this procedure, you will use Milvus Backup to prepare the backup files, upload them to Zilliz Cloud, and migrate them to the specified target Zilliz Cloud cluster.
Download milvus-backup. Always use the latest release.
Currently, you can migrate data from Milvus 2.2 and later versions to Zilliz Cloud clusters. For details on compatible source and target Milvus versions, refer to Milvus Backup Overview.
Create a configs folder side by side with the downloaded binary, and download backup.yaml into the configs folder.
Once the step is done, the structure of your workspace folder should look like this:
workspace
├── milvus-backup
└── configs
     └── backup.yaml
Customize backup.yaml.
-
Set the following configuration items:
...
cloud:
  address: https://api.cloud.zilliz.com
  apikey: <your-api-key>
...-
cloud.addressThe Zilliz Cloud Control Plane endpoint, which is
https://api.cloud.zilliz.com. -
cloud.apikeyA valid Zilliz Cloud API key with sufficient permissions to operate the target cluster of the migration. For details, refer to API Keys.
-
-
Check whether the following configuration items are correct:
...
# milvus proxy address, compatible to milvus.yaml
milvus:
  address: localhost
  port: 19530
  ...

# Related configuration of minio, which is responsible for data persistence for Milvus.
minio:
  # Milvus storage configs, make them the same with milvus config
  storageType: "minio" # support storage type: local, minio, s3, aws, gcp, ali(aliyun), azure, tc(tencent), gcpnative
  # You can use "gcpnative" for the Google Cloud Platform provider. Uses service account credentials for authentication.
  address: localhost # Address of MinIO/S3
  port: 9000   # Port of MinIO/S3
  bucketName: "a-bucket" # Milvus Bucket name in MinIO/S3, make it the same as your milvus instance
  backupBucketName: "a-bucket" # Bucket name to store backup data. Backup data will store to backupBucketName/backupRootPath
  rootPath: "files" # Milvus storage root path in MinIO/S3, make it the same as your milvus instance
  ...
For a Milvus instance installed using Docker Compose,
minio.bucketNamedefaults toa-bucketandrootPathdefaults tofiles.For a Milvus instance installed on Kubernetes,
minio.bucketNamedefaults tomilvus-bucketandrootPathdefaults tofile.
Create a backup of your Milvus installation.
./milvus-backup --config backup.yaml create -n my_backup

# my_backup is the name of the backup file
# and will be used in the migrate command
Create the target Zilliz Cloud cluster, note the cluster ID, and run the following command to initiate the migration.
./milvus-backup migrate --cluster_id inxx-xxxxxxxxxxxxxxx -n my_backup

# cluster_id is the ID of the target Zilliz Cloud cluster
# my_backup is the name of the backup file created in the above command

# The command output is similar to the following:
# Successfully triggered migration with backup name: my_backup target cluster: inxx-xxxxxxxxxxxxxxx migration job id: job-xxxxxxxxxxxxxxxxxxx.
# You can check the progress of the migration job in Zilliz Cloud console.
Upon executing this command, Milvus Backup uploads the prepared backup files to the Zilliz Cloud platform, creates a migration job, and returns the job ID as the command output.
The backup files uploaded to the Zilliz Cloud platform will be retained for 3 days after the upload and will then be deleted.
Monitor the migration process
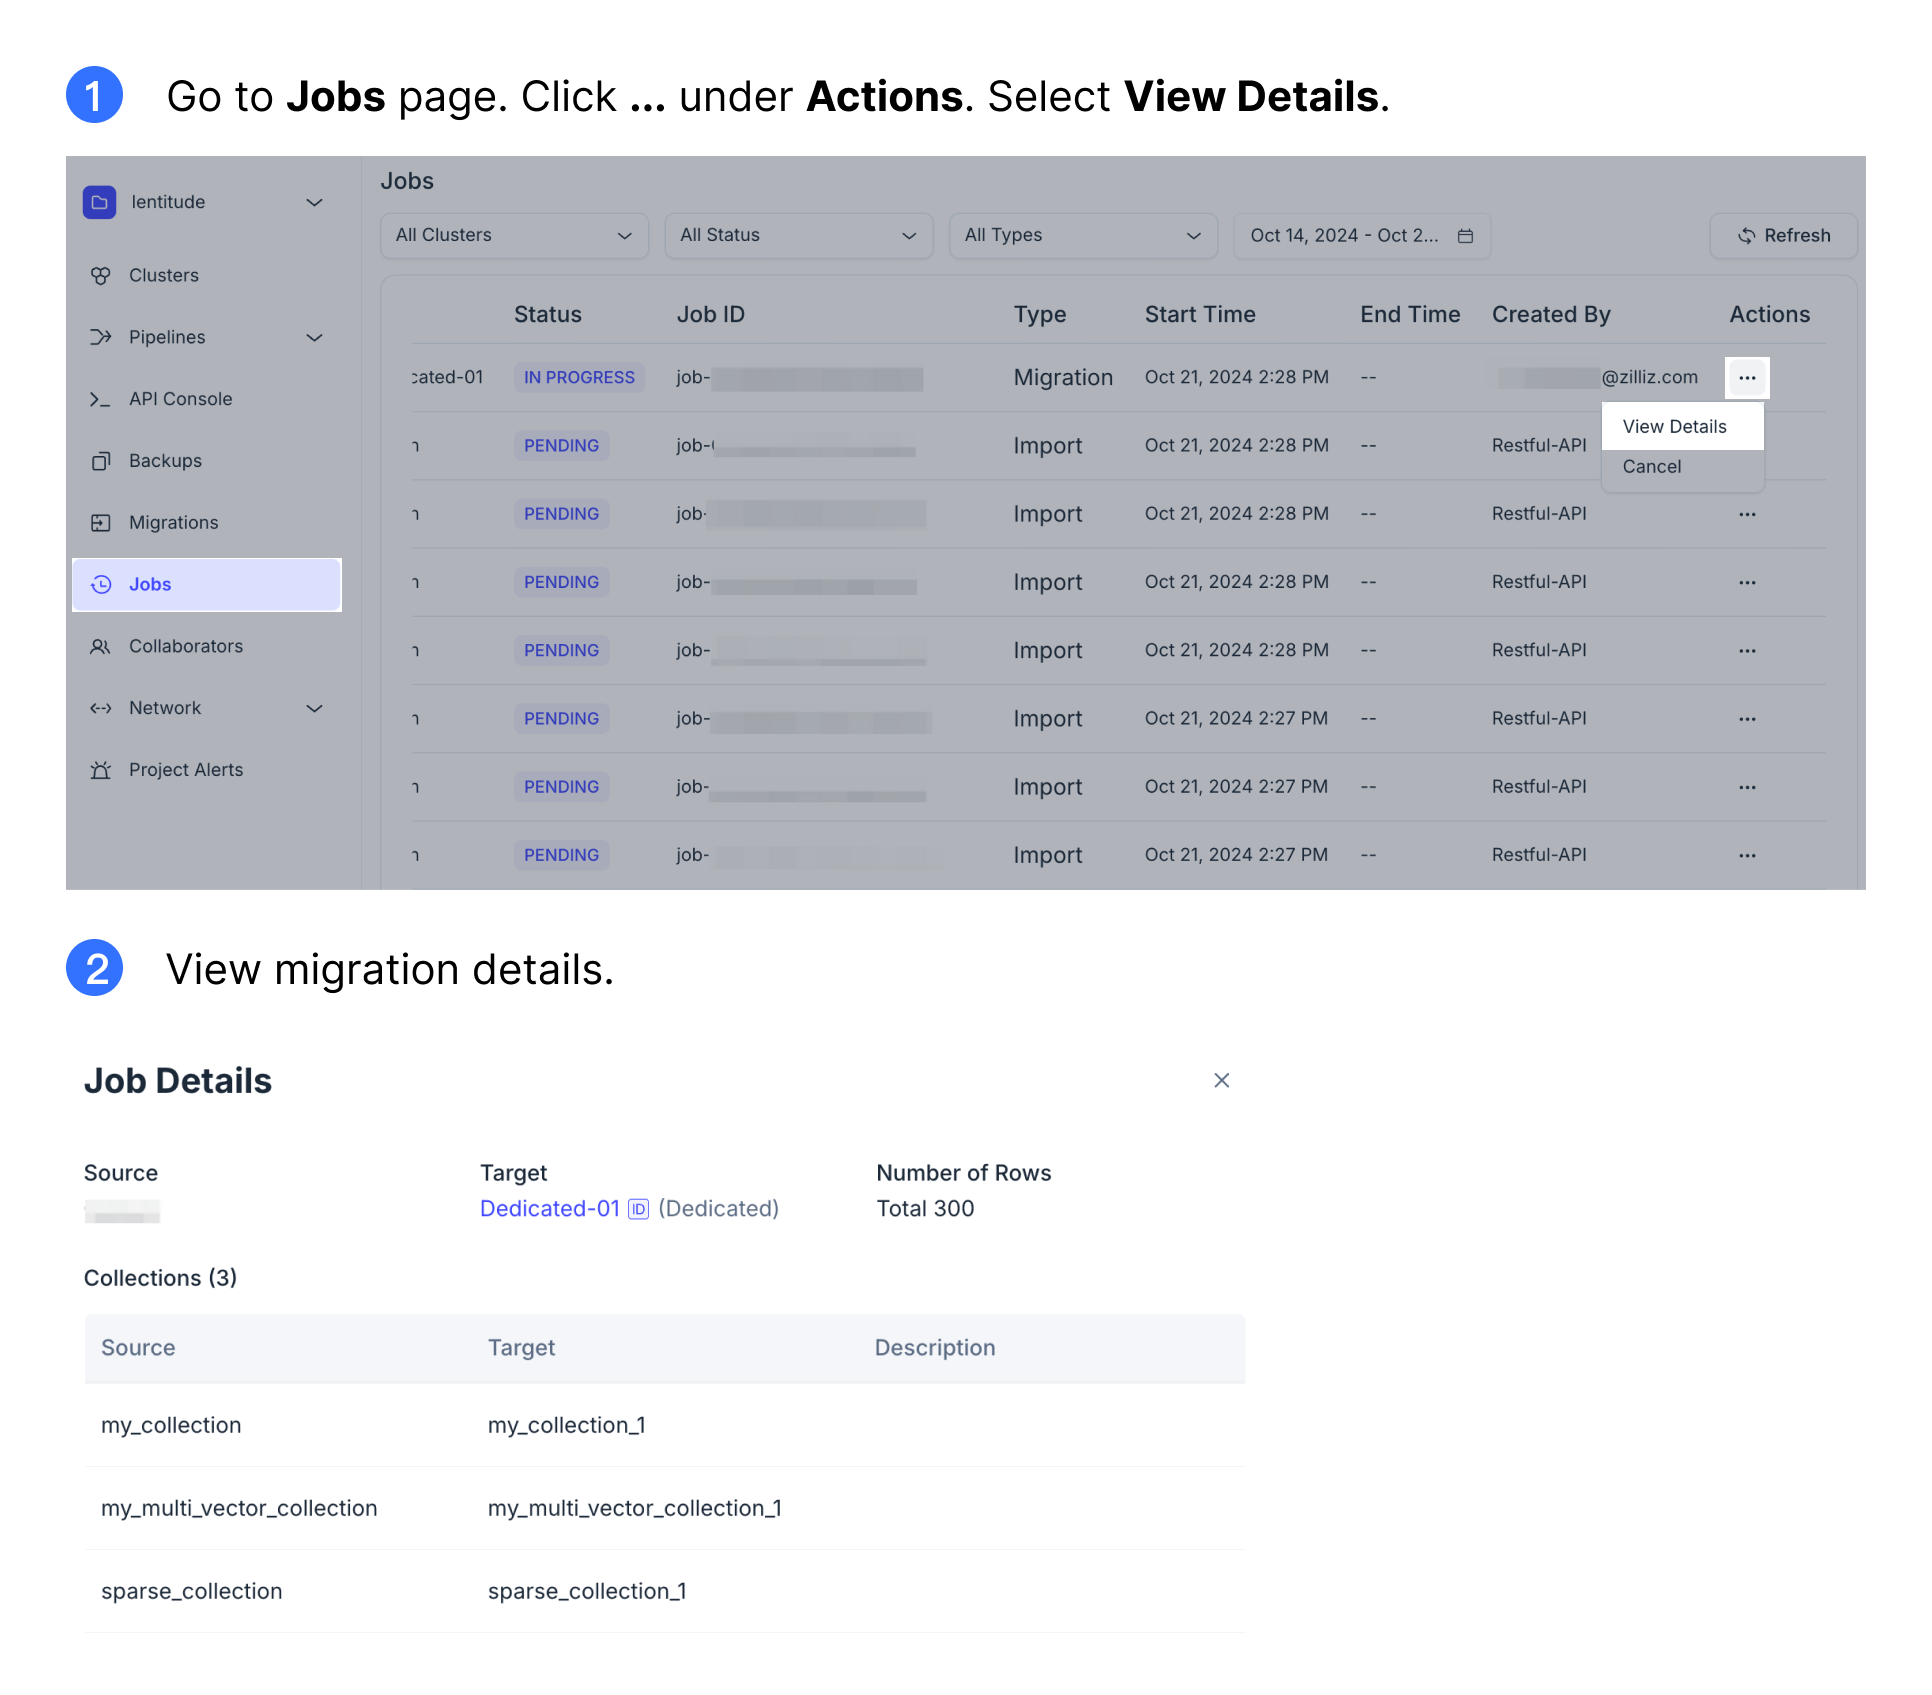
Once you click Migrate, a migration job will be generated. You can check the migration progress on the Jobs page. When the job status switches from In Progress to Successful, the migration is complete.
After migration, verify that the number of collections and entities in the target cluster matches the data source. If discrepancies are found, delete the collections with missing entities and re-migrate them.

Post-migration
After the migration job is completed, note the following:
-
Index Creation: The migration process automatically creates AUTOINDEX for migrated collections.
-
Manual Loading Required: Despite automatic indexing, the migrated collections are not immediately available for search or query operations. You must manually load the collections in Zilliz Cloud to enable search and query functionalities. For details, refer to Load & Release.
Cancel migration job
If the migration process encounters any issues, you can take the following steps to troubleshoot and resume the migration: